
Friday, December 9, 2011
Re-ramping my blog
I've been thinking for a while now on what I should do with this blog. Starting thinking about it since July and finally came to a conclusion. The blog is going to keep going the way it is. I will be adding a few more things that interest me to this blog. You will find me posting things like 3d printing, photography and etc in the coming days/weeks. As of now this blog will become a place to share everything that matters to me.
Monday, September 12, 2011
Video of my SW tank
Been a little busy lately, but since it was the weekend I decided that I need to do something with my system, if not something related. Since the system is running fairly smooth and on auto pilot I went with the ladder option and made a short video for the system.
hope you guys enjoy it.
Wednesday, September 7, 2011


Sunday, August 14, 2011
Crystal Red Shrimps Project
Heres the first exposure to my next project, it's not a new chapter so to say in my aquarium keeping hobby, but more like a revisit to something i had left a while ago. The current project and the post of this is my approach in helping everyone who is interested in breeding them. The current breeding line is a blood line me and a friend are developing to try and rival those of JPRLs though we get some pretty solid colors, we believe we are still a little ways from being able to compete on that level.
The current setup is:
Tank: ADA 60P
Light: 2x 28w CFL
Filter: 1x eheim 2213, 1x eheim ecco 2236
Ph: 6.1 (CO2 going at 3BPS)
substrate: ADA amazonia powder
TDS: 160
Gh: 3-4
kH: 0


Saturday, August 13, 2011
aluminum T5 addon
Since the tank has switched over to LEDs I've not had the desire to add any T5s to my tank. But due to the recent lack of activity/purchases to my tank i felt like I needed to do something. So this project was born.
I wanted to do something that was modular, that allowed me to me to add these T5s on quickly and without much work yet work efficiently. The T5 ballast i decided to go with is a brand called sunblaster. A fixture that has the ballast built into the light strip that has its own sockets, the reason was they recently just came out with individual reflectors that was small and also remove-able and modular.
The T5 light addon allows me to aim the T5s anywhere from 45degrees from the water surface to parallel to the water surface. It also allows me to remove them whenever I want as to say the addon is not a permanent thing which is great.
Here are the pictures.
Saturday, July 9, 2011
Its been a while
Wow its been a while, School and life took me on a weird journey of design competitions, building a 3D printer and now getting back into a hobby which i left roughly 4 years ago and that is breeding and selective breeding of crystal red shrimps.
At this moment I'm thinking how i should go regarding this blog, I would hate to start new blogs constantly for new topics... so I was thinking to throw all my blog posts into one location. That might end up making this blog a little random, but lets see how that goes. If it ends up being too chaotic, I'll look for other methods but meanwhile you might find 3-5 different topics flowing within this blog post on a constant basis.
Sunday, February 6, 2011
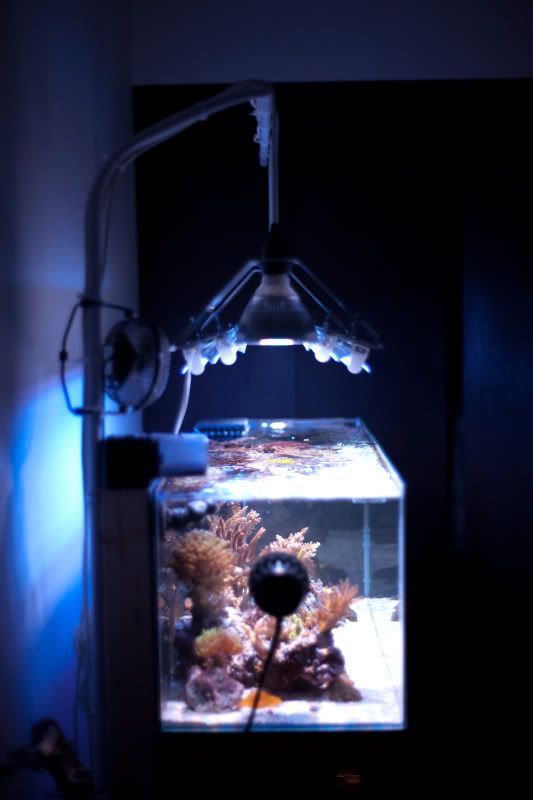
Start of a new personal tank

Hi guys,
I thought id hear one of my biggest passions with everyone that views the blog, I am and have been a big reef keeper. For the last 5 years I've kept picos and nanos. My biggest being the current system which i set up just a few days ago.
The new system specs:
tank: 36" x 13.25" x 13" (1/4" thickness)
sump: 24" x 11" x 14"
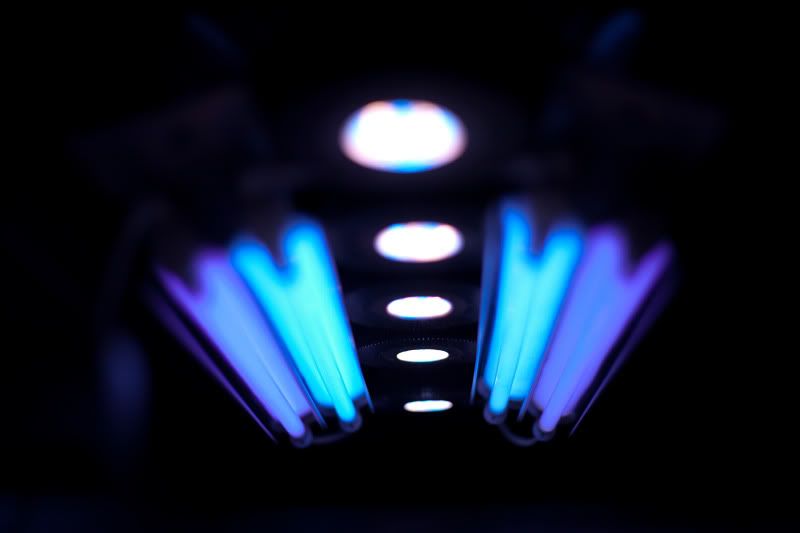
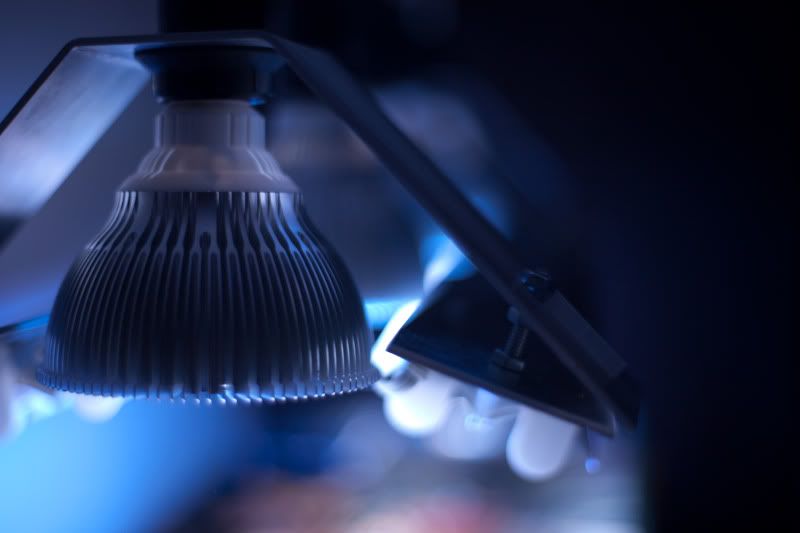
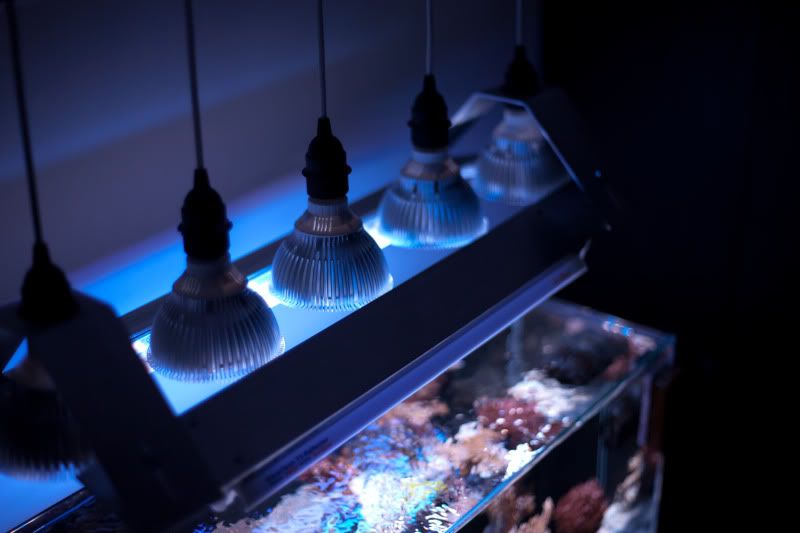
lighting: 5x PAR38 (9x3W Cree XP-E)
skimmer: SWC 160 cone
pumps: 2x Vortech MP40 WES
Suppliment: 2x dosing pumps (1.1ml/min)
All the corals in the system are from my old tank some are of decent size while others are frags. For now I'll leave it at that. You can find my threads on both reef central and nano reef.
heres some progress shots for everyone viewing.


Wednesday, January 26, 2011
SWC 160 cone skimmer
SWC is a company thats good at pushing out quality skimmers with a reasonable cost. The SWC 160 cone which has been reviewed quite a bit is no exception. The skimmeris a nice piece of hardware thats easy to install for the everyday reefer. The best part about this skimmer for me is the aesthetics, the white acrylic it uses makes this skimmer look to be a high end skimmer. Now im not saying this skimmer is bad, its far from it but like everything we buy, the looks matter quite a bit as the aquarium industry/hobby is based quite heavily on visual representations.
The packaging on the skimmer is in my opinion as good as it gets for a pre-fabricated unit, the foam used in the packing is 1"thick on all sides and when I got the box it felt rigid. The skimmer came with everything, and a piece of paper for the manual which i find to be quite useless since the skimmer was so easy to use.


Features:
-Cone Body
-Large Collection Cup
-Gate Valve Wedge Pipe for ease of tunning
-Silencer
-650 litres/hour air draw
-Small Footprint of 9" x 7" x 20.58"
-Fully dis-assemble for cleaning
The skimmer itself has pretty good craftsmanship, a decent thickness on the acrylic was used and the seams seem well put together. The collection cup snaps in via a compression of o-ring like you would see on a BK or vertex cone skimmer and requires only 1/2" clearance to get the cup out. The venturi is pretty nice as well , it snaps in just like the collection cup so cleaning should be pretty easy. There you have it a skimmer thats built with the reef keepers in mind one that will work efficiently without breaking the banks.


Tuesday, January 4, 2011
Final: Mame update
having tested the overflow in a spare tank with freshwater i found the venturi tubes inner diameter to be too small. Though the system did work during the priming stages the water in the tank would get close to the rim and i didnt want to take the chance of it flooding. So in an attempt to bore out the venturi the bit caught the acrylic and cracked both venturis down the middle of the pipe. For those that are planning on building a replica down the line i would recommend buying 1/4" thin walled tubing for the venturi. Overall though the project has been fairly easy to do and the cost was only $25 for all the material cost that is buying the tubing at full length as well (6ft). For the time being I'll be going a different route with my personal reef tank and hope you guys enjoyed the build.
Subscribe to:
Posts (Atom)